Table of Contents
A free body diagram (FBD) is a simple but powerful tool in physics that helps us understand and solve problems involving forces acting on objects. Think of it as a “force map” that shows all the pushes and pulls acting on something.
1. What is a Free Body Diagram? #
A free body diagram is a simple sketch that shows:
- The object we’re studying (usually drawn as a simple shape or dot)
- All the forces acting on that object
- The direction of each force (shown with arrows)
- The size of each force (if known)
Important Features: #
- Object isolation: We only show the object we’re studying, not its surroundings
- Force arrows: Longer arrows usually mean stronger forces
- Labels: Each force must be clearly labeled (e.g., gravity as Fg or mg)
- Coordinate system: Usually includes x and y axes to help analyze forces
2. Common Forces in FBDs #
Main forces you’ll see: #
- Weight/Gravity (Fg or mg):
- Always points straight down
- Equal to mass × acceleration due to gravity (9.81 m/s²)
- Normal Force (N or FN):
- Surface’s push-back force
- Always perpendicular to the surface
- Friction (f or Ff):
- Parallel to surfaces
- Opposes motion or attempted motion
- Applied Forces (Fapp):
- Any push or pull we apply
- Can be in any direction
3. Newton’s Second Law (F = ma) #
This important equation helps us use FBDs to solve problems:
- F = Total force (in Newtons, N)
- m = Mass (in kilograms, kg)
- a = Acceleration (in meters per second squared, m/s²)
Key Points to Remember: #
- If forces are balanced (net force = 0), acceleration = 0
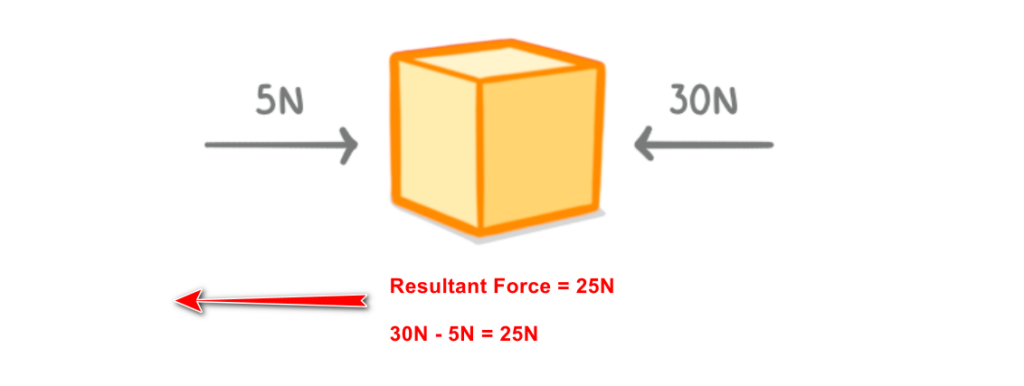
- If forces are unbalanced, the object will accelerate
- Direction matters! We often need to analyze forces in x and y directions separately
4. How to Draw an FBD #
Follow these steps: #
- Draw the object: Use a simple shape or dot
- Add coordinate axes: Usually x (horizontal) and y (vertical)
- Identify all forces: Think about every push and pull
- Draw force arrows: Start from the object’s center
- Label everything: Give each force a clear name
- Check your work: Have you included all forces?


